Knowing how to screen record on Windows can be useful for everything from creating tutorials to showing someone a computer problem.
You might want to record:
- A software demonstration
- An online presentation
- Gameplay
- A technical problem
- Steps in an application
- Something you want to explain to another person
The good news is that Windows includes built-in screen-recording options, so many users don’t need to install additional software.
In this guide, we’ll cover the easiest ways to record your screen on Windows and explain where to find your recordings afterward.
Quick Answer: How Do You Screen Record on Windows?
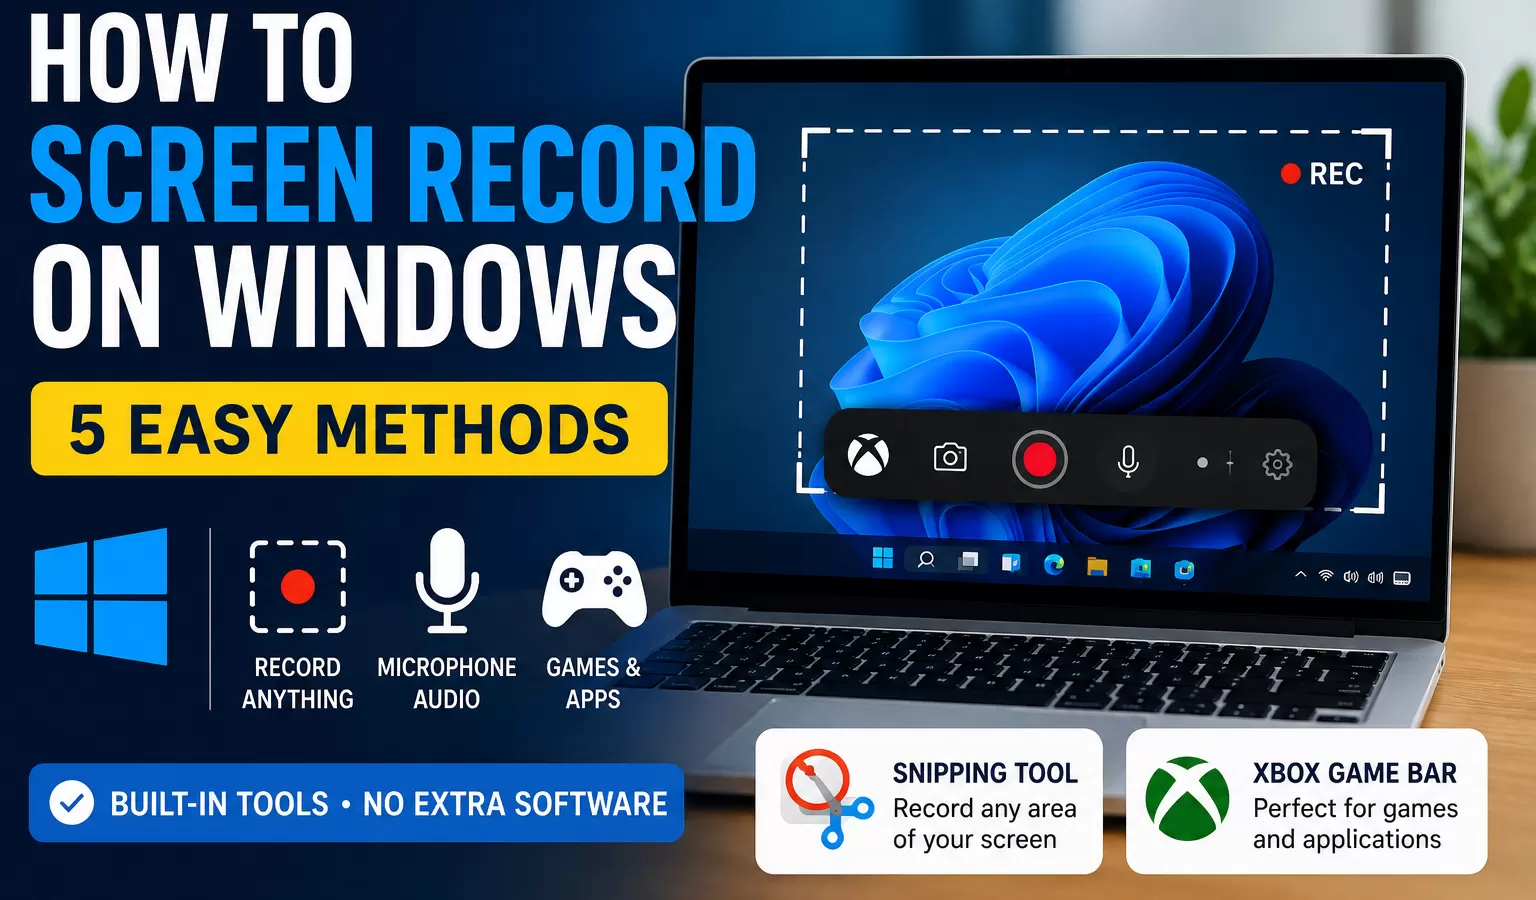
One of the easiest options on a supported Windows 11 PC is the Snipping Tool.
Open:
Start → Snipping Tool
Select the Record option, choose New, select the portion of your screen you want to record and start recording.
Microsoft documents screen recording as one of the capabilities available through Snipping Tool. Microsoft Support — Use Snipping Tool to capture screenshots
Another popular method is Xbox Game Bar, especially when you want to record an application or game.
Method 1: Screen Record With Snipping Tool
Snipping Tool isn’t only for screenshots.
On supported versions of Windows 11, it can also record a selected area of your screen.
Open the Start menu and search for:
Snipping Tool
Open the application.
Select the Record button.
Then choose:
New
Use your mouse to select the area of the screen you want to record.
When you’re ready, start the recording.
Once finished, stop the recording and review the video.
This method is especially convenient when you only want to capture a particular section of your display instead of everything happening on the computer.
Method 2: Screen Record With Xbox Game Bar
Windows also includes Xbox Game Bar.
Despite the name, Game Bar isn’t useful only for gaming. It can also record activity in many applications.
Press:
Windows + G
The Game Bar interface should appear.
Look for the Capture controls.
From there, you can start recording the active application.
Microsoft provides Game Bar as a built-in Windows feature for recording game clips and other activity. Microsoft Support — Use Xbox Game Bar to capture game clips
Method 3: Use the Windows Screen Recording Shortcut
If you don’t want to open the full Game Bar interface every time, remember this shortcut:
Windows + Alt + R
This starts or stops recording through Xbox Game Bar.
For example:
- Open the application you want to record.
- Press Windows + Alt + R.
- Perform the actions you want to capture.
- Press Windows + Alt + R again when you’re finished.
This can be one of the fastest ways to record an application on Windows.
How to Turn Your Microphone On or Off
If you’re creating a tutorial, you may want to explain what you’re doing while recording.
Xbox Game Bar provides a microphone shortcut:
Windows + Alt + M
Use it to toggle your microphone during a recording.
This can be helpful for:
- Tutorials
- Software demonstrations
- Gameplay commentary
- Technical explanations
Before making an important recording, create a short test clip to make sure your microphone sounds the way you expect.
Method 4: Record Gameplay With Xbox Game Bar
Game Bar is particularly useful for recording games.
Open your game and press:
Windows + G
Then use the Capture controls.
Or simply press:
Windows + Alt + R
to begin recording.
When you’re finished, press the shortcut again.
Windows will save the captured video so you can view or edit it afterward.
Where Are Xbox Game Bar Recordings Saved?
Game Bar recordings are commonly stored in:
Videos → Captures
Open File Explorer.
Then navigate to:
Videos
and open:
Captures
Your recordings should appear there.
Microsoft states that Game Bar game clips are saved as MP4 video files in the Captures folder. Microsoft Support — Xbox Game Bar recording
Method 5: Use a Third-Party Screen Recorder
Windows’ built-in tools are enough for many people.
However, third-party software can be useful when you need more advanced functionality, such as:
- Multiple recording sources
- Webcam overlays
- Advanced audio controls
- Custom scenes
- Streaming
- More control over video quality
For ordinary screen recording, however, it’s worth trying Windows’ built-in tools first.
You may already have everything you need.
Snipping Tool vs. Xbox Game Bar
Which one should you use?
| Feature | Snipping Tool | Xbox Game Bar |
|---|---|---|
| Record selected screen area | Yes | Primarily app/game capture |
| Record games | Basic use | Better suited |
| Quick keyboard recording | Limited | Windows + Alt + R |
| Microphone controls | Depends on version/features | Yes |
| Built into Windows | Yes | Yes |
| Best for | Tutorials / selected areas | Apps / games |
For a quick recording of a selected portion of your screen, Snipping Tool is convenient.
For games or individual applications, Xbox Game Bar may be the better choice.
How to Screen Record on Windows 11
Windows 11 users can start with Snipping Tool.
Search for:
Snipping Tool
Then select its recording mode.
If you want to record an application or game, you can alternatively use:
Windows + G
or:
Windows + Alt + R
The best option depends on exactly what you need to capture.
How to Screen Record on Windows 10
Xbox Game Bar is one of the easiest built-in options for Windows 10.
Open the application you want to record.
Then press:
Windows + G
or try:
Windows + Alt + R
If Game Bar isn’t enabled or available on your configuration, check your Windows settings.
Windows 10 users should also keep in mind that newer Snipping Tool recording capabilities are primarily associated with Windows 11.
How to Record Your Screen With Audio
Screen recordings become much more useful when you can include audio.
With Game Bar, you can use:
Windows + Alt + M
to control your microphone.
If you’re recording a tutorial, test both your screen and audio before creating a long recording.
A 10-second test can prevent you from discovering later that your microphone wasn’t working.
How to Screen Record Without a Microphone
You don’t have to narrate your recording.
If your microphone is active through Game Bar, use:
Windows + Alt + M
to turn it off.
This is useful when you only need a visual recording of what’s happening on the screen.
How Long Can You Screen Record on Windows?
Recording limits can depend on the Windows feature, configuration and available storage.
Long videos also consume considerably more disk space than screenshots.
Before recording something lengthy, check that your computer has enough available storage.
For tutorials, shorter focused recordings are often easier to create, upload and share.
Why Is Windows + Alt + R Not Working?
If the shortcut doesn’t start recording, check a few things.
Make Sure Xbox Game Bar Is Available
Press:
Windows + G
If Game Bar opens, try starting the recording from the Capture controls.
Make Sure an Application Is Open
Game Bar is primarily designed around capturing games and applications.
Some parts of the Windows interface may not be recordable in the same way.
Check Windows Settings
Search Windows Settings for:
Xbox Game Bar
or:
Captures
and review your recording configuration.
Restart the Application
Close the application you’re trying to record, reopen it and test the shortcut again.
Why Can’t Xbox Game Bar Record My Desktop?
This is an important limitation.
Xbox Game Bar is primarily intended to capture games and applications rather than acting as a universal desktop recorder.
If you need to demonstrate actions across the desktop, File Explorer and several applications, another recording method may be more appropriate.
On supported Windows 11 systems, Snipping Tool may be a better choice when you need to capture a selected screen region.
How to Find a Screen Recording on Windows
If you recorded using Xbox Game Bar, start by checking:
File Explorer → Videos → Captures
If you used another recording method, the save location may be different.
Check the application after you finish recording because it may allow you to choose where the video is saved.
How to Take a Screenshot Instead of Recording
Sometimes a video isn’t necessary.
If you only need to capture one moment, a screenshot is faster and creates a much smaller file.
On Windows, press:
Windows + Shift + S
to capture a selected area.
We have a complete guide explaining how to take a screenshot on Windows, including Print Screen, Snipping Tool and the main Windows screenshot shortcuts.
That’s our first internal link from this article.
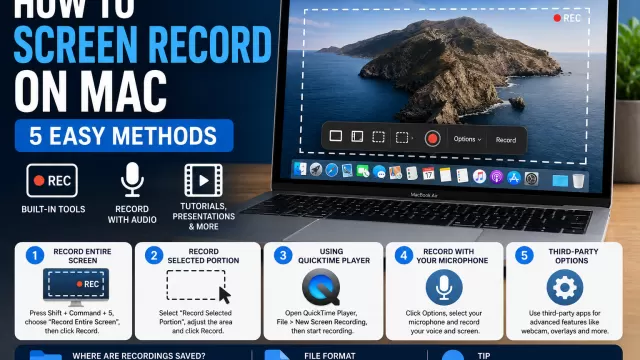
Windows vs. Mac Screen Recording
Both Windows and Mac include built-in screen-capture features.
Windows users can use tools such as Snipping Tool and Xbox Game Bar.
On Mac, Apple provides screenshot and screen-recording controls through:
Shift + Command + 5
If you’re using a Mac and only need a still image, see our guide on how to screenshot on Mac.
Screen Recording vs. Screenshot: Which Should You Use?
Use a screenshot when you need to capture:
- An error message
- A particular setting
- A webpage
- One moment
- A receipt or confirmation
Use a screen recording when you need to show:
- Several steps
- A software process
- Gameplay
- A problem that occurs over time
- How to perform a task
Choosing the right format can make your explanation much easier for another person to understand.
Tips for Better Screen Recordings
Before pressing record, close anything you don’t want appearing in your video.
That includes:
- Personal messages
- Account information
- Passwords
- Private browser tabs
- Notifications
If you’re recording a tutorial, prepare the steps beforehand.
Also consider making a short test recording to verify the video and audio quality.
Frequently Asked Questions
What is the shortcut to screen record on Windows?
For Xbox Game Bar, Windows + Alt + R starts and stops recording.
Does Windows have a built-in screen recorder?
Yes. Windows includes built-in recording capabilities through tools such as Xbox Game Bar, while supported Windows 11 versions also provide recording through Snipping Tool.
How do I screen record on Windows 11?
Open Snipping Tool and select its recording mode, or use Xbox Game Bar with Windows + G.
How do I screen record on Windows 10?
Xbox Game Bar is a built-in option. Press Windows + G to open it or Windows + Alt + R to start recording a compatible application.
Where are Windows screen recordings saved?
Xbox Game Bar recordings are generally stored under Videos → Captures.
How do I screen record with my microphone?
When recording with Game Bar, use Windows + Alt + M to toggle your microphone.
Can I screen record without installing software?
Yes. Windows includes built-in recording options, so additional software isn’t necessary for many basic screen-recording tasks.
The Bottom Line
Learning how to screen record on Windows doesn’t necessarily require downloading another program.
For Windows 11, Snipping Tool provides a convenient option for capturing a selected area.
For applications and games, Xbox Game Bar is another useful built-in tool.
The shortcut worth remembering is:
Windows + Alt + R
It can quickly start and stop a Game Bar recording.
And if you only need to capture one moment instead of an entire video, use a screenshot instead.